Drivers, queue and errors
Printer fuser error on a laser printer: what it means and what to do
Written by Fix a Printer Editorial Team · Updated
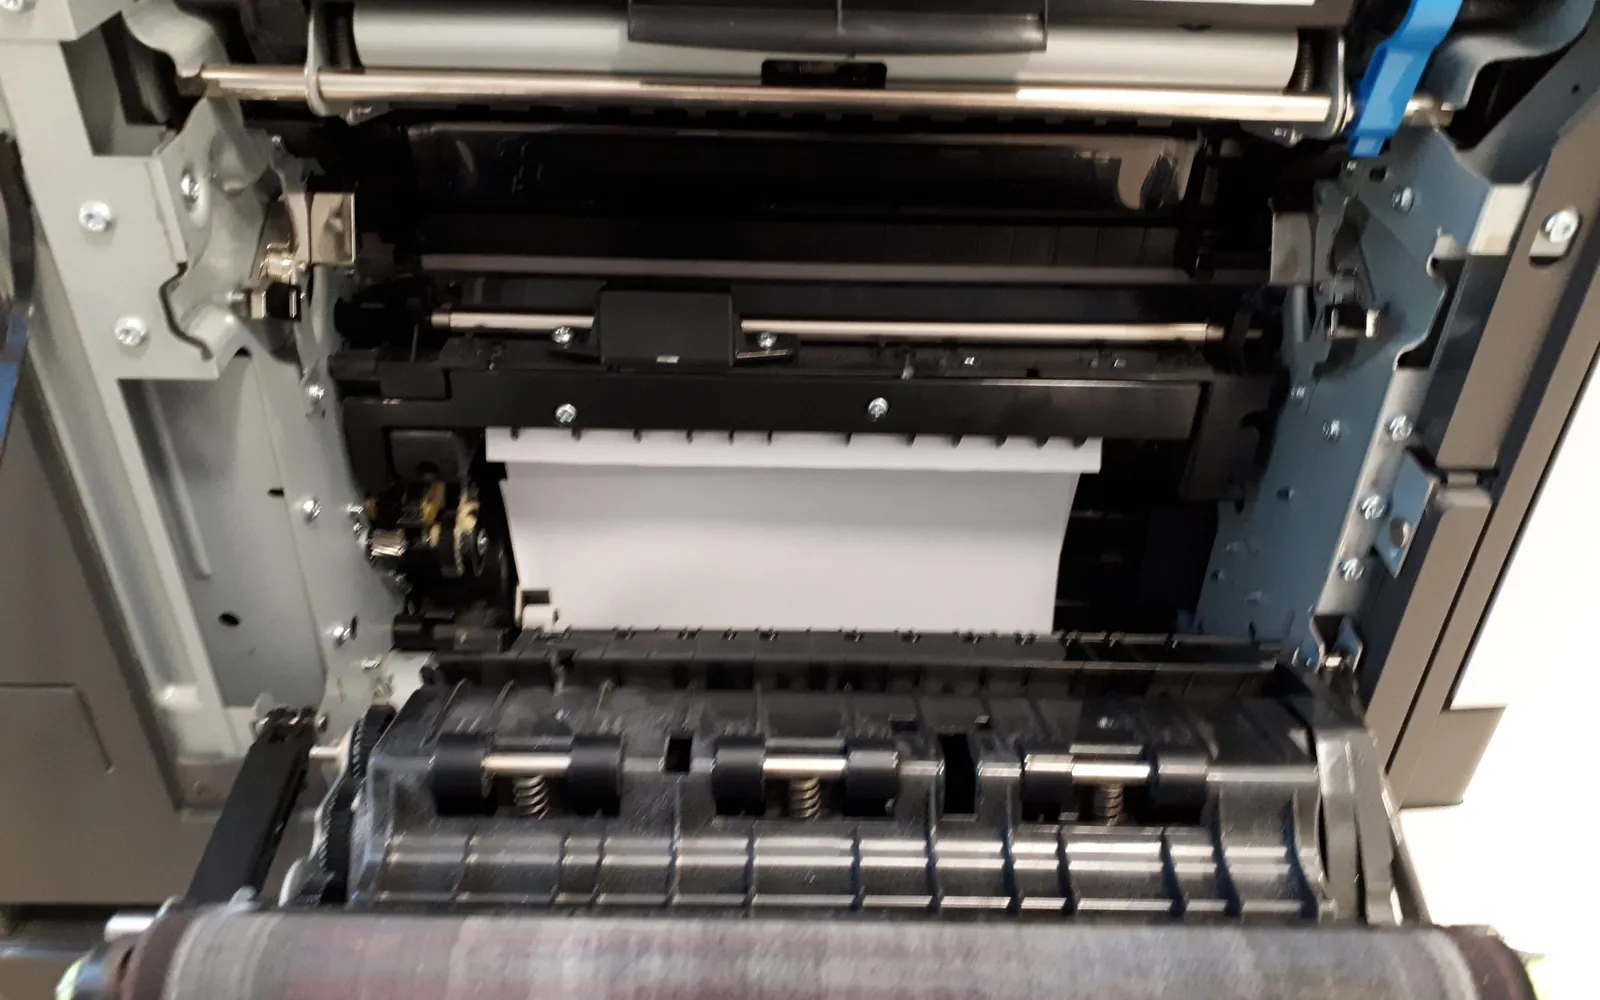
A printer fuser error appears only on laser printers and other toner-based machines, and it usually stops the printer completely. The message sounds serious, and sometimes it is, but a good share of fuser errors come from temporary causes: a dip in power, a sheet of paper stuck in the hot part of the printer, or a fuser that was knocked out of place when someone cleared a jam. This guide explains what the fuser does, how to clear the error safely and how to tell whether the part has really failed.
If your laser printer has a different problem, such as pale prints or a repeated faint image, see printer printing faded and laser printer ghosting. The full list of symptoms is in the printer troubleshooting guide.
What the fuser does
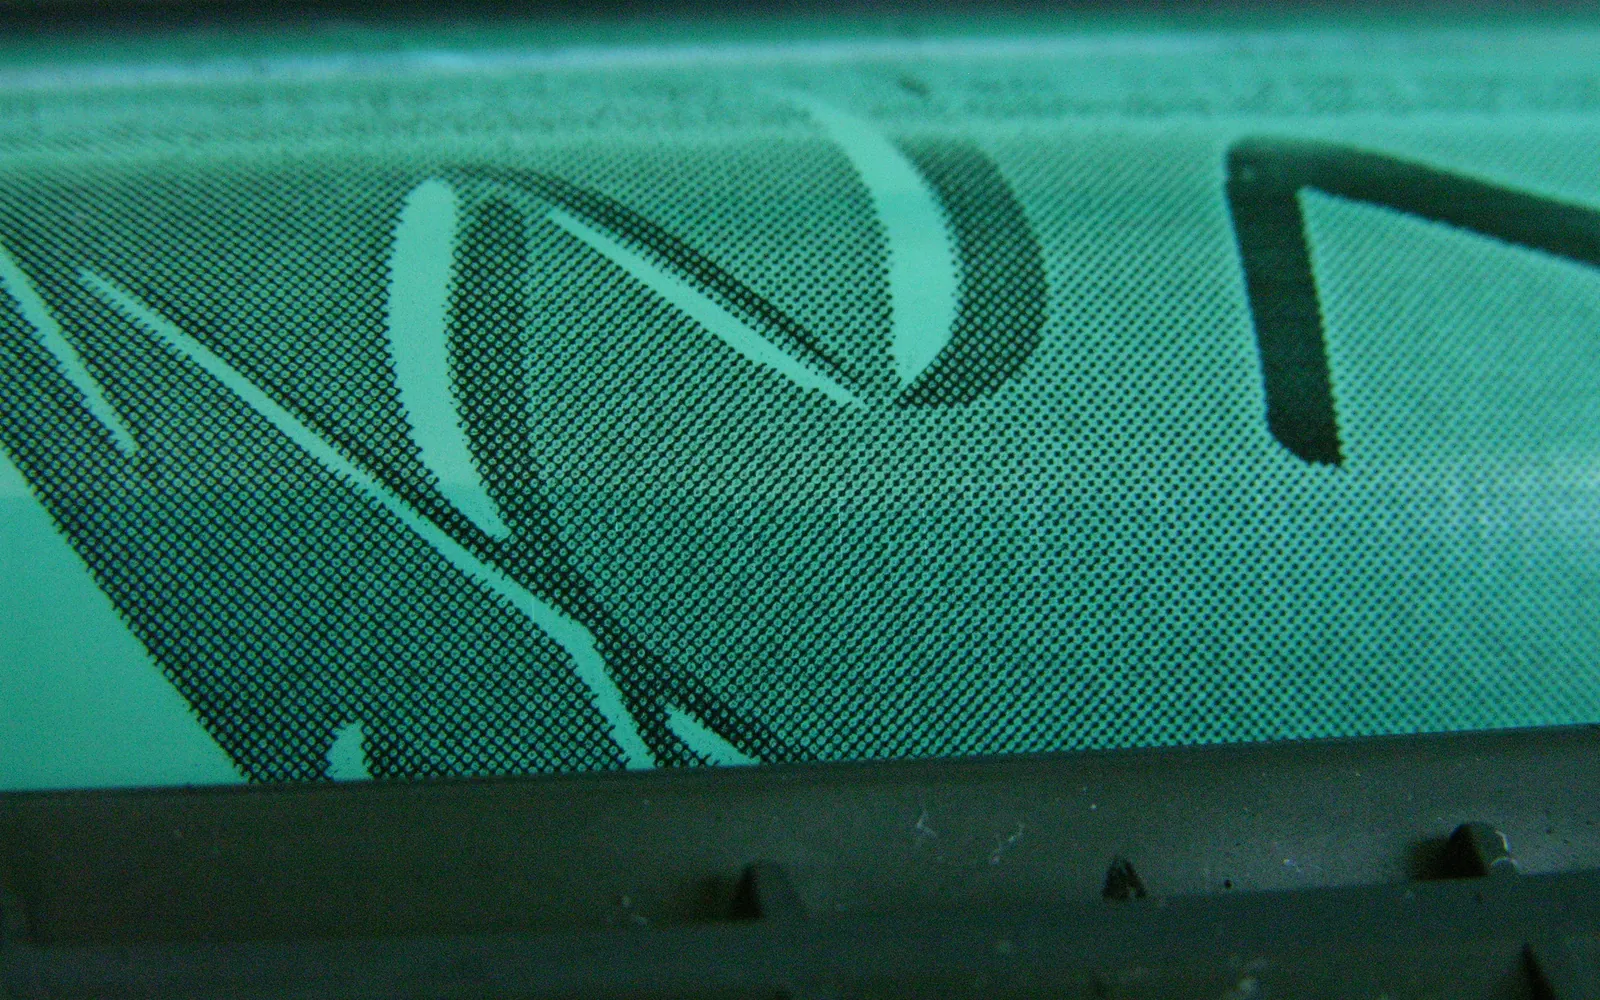
A laser printer builds the image in loose toner powder on a drum and transfers it to the paper. At that point the toner is only resting on the page; you could brush it off. The fuser is the last stage: a heated roller or film and a pressure roller that melt the toner and press it into the paper fibres as the sheet passes through.
To do that, the fuser has to reach and hold a high temperature, and the printer watches it constantly with a temperature sensor. Most fusers also contain a thermal fuse or cut-out that breaks the circuit if the fuser ever gets dangerously hot. A “fuser error” (on some printers a numbered service code that the manual describes as a fuser fault) means one of those checks failed: the fuser warmed too slowly, never got warm, got too hot, or the sensor reported something impossible.
Fuser error or replace fuser message?
These are two different messages, and it matters which one you have.
- Fuser error, fuser failure or a fuser service code: the printer stops. Something is wrong now. Work through the steps below.
- Replace fuser, fuser kit low or maintenance kit: the printer has counted the pages that went through the fuser and is warning that it is near its rated life. The printer usually keeps printing. Plan a replacement, and print quality will tell you how urgent it is.
Step 1: Switch off and let it cool
Turn the printer off, unplug it and leave it for at least 30 minutes. The fuser runs hot enough to burn skin and keeps that heat for a long time. Cooling also resets the temperature sensor readings and clears errors that came from a single slow warm-up.
Step 2: Look for paper in the fuser area
A sheet that wrapped around the fuser roller, or a small torn piece left behind after a jam, is a common cause of fuser errors and of jams that keep coming back.
- Once the printer is cool, open the rear door or the fuser access cover. The manual or a label inside the printer shows where it is.
- Look for paper, labels or envelope flaps. Pull them out slowly in the direction the paper normally travels.
- Do not use metal tools, and do not scrape the rollers. The fuser roller has a delicate non-stick coating.
The same care applies to any jam near the back of a laser printer; how to clear a paper jam explains the safe way to do it. If the printer reports a jam where there is no paper, see paper jam but no paper.
Step 3: Check that the fuser is seated
On many office and some home laser printers, the fuser is a user-replaceable unit that slides in at the back. If it was recently replaced, or if someone pulled hard on a jammed sheet, it may not be fully seated, and its electrical contacts will not connect.
- Check that it is pushed fully home and that any screws or locking levers are fastened as the manual shows.
- Many fusers have levers for envelopes or thick paper that release pressure. Return them to the normal position unless you are printing envelopes.
Do not remove a fuser that is not designed to be user-replaceable.
Step 4: Give it a clean power supply
The fuser heater is the biggest electrical load in the printer. If the voltage sags while it warms up, the fuser may not reach temperature in the time the printer allows, and it reports an error.
- Plug the printer straight into a wall outlet, not a power strip, extension lead or the battery side of a UPS. Many laser printer manuals warn against UPS battery outlets for this reason.
- Avoid sharing the circuit with heaters, kettles or air conditioners if the error appears when those run.
- If the error appeared right after a power cut or brownout, the cool-down and restart in Step 1 often clears it.
- A printer moved from another country may be set up for a different mains voltage. Fusers are built for a specific voltage range, and the wrong one can fail at once. Check the rating label.
If the printer will not power on at all, see printer won’t turn on.
Step 5: If the error comes back
You have let the printer cool, removed all paper, checked the fuser and used a wall outlet, and the error returns, either at start-up or after a few pages. The fuser heater, its thermal fuse, its temperature sensor or the control board has most likely failed. A blown thermal fuse is a safety device, not a part to bypass; it means the fuser overheated or the cut-out aged.
Your options:
- User-replaceable fuser: order the fuser or maintenance kit that the manual lists for your model and install it as the manual describes. Then reset the fuser counter if the manual says so.
- Fixed fuser: have the printer serviced. Ask for a quote first; on small printers the repair can approach the price of a new printer.
- Under warranty: contact the manufacturer through the support details in your manual or on their website.
Fuser problems that do not show an error
A fuser can wear without ever triggering an error. Watch for these signs:
- toner that rubs off or smears when you run a finger over the page,
- a faint repeat of the image further down the page, which can be fuser-related ghosting,
- creases or wrinkles near the trailing edge of the sheet; see printer wrinkling paper,
- a grinding or squealing noise from the back of the printer; see printer making grinding noise,
- pages that come out with marks or smears in the same place; see printer smudging ink.
Before blaming the fuser, check the paper type setting. Heavy paper, labels or glossy paper printed as “plain paper” may not get enough heat, so the toner does not fuse. Choosing the right media type in the print dialog often fixes “fuser” symptoms without touching the hardware.
Frequently asked questions
What does a fuser error mean on a laser printer?
The printer could not bring the fuser to the right temperature in time, or its temperature sensor reported a value outside the expected range. The cause can be a temporary power problem, paper stuck in the fuser, a fuser that is not seated properly, or a fuser or heater that has failed.
How do I clear a fuser error?
Switch the printer off, unplug it and leave it for at least 30 minutes so the fuser cools fully. Remove any paper from the rear door or fuser area, check that the fuser is seated if it is user-replaceable, plug the printer straight into a wall outlet and switch it on. If the error comes back, the fuser or its control circuit needs service.
Is it safe to touch the fuser?
Not while the printer has recently been used. The fuser runs hot enough to burn skin and can stay hot for a long time after switching off. Most printers carry a warning label near it. Let it cool before reaching in, and touch only the parts the manual tells you to handle.
What is the difference between a fuser error and a replace fuser message?
A fuser error stops the printer because something is wrong now. A replace fuser or fuser kit low message comes from a page counter and warns that the fuser is near its rated life. The printer normally keeps printing, and the message clears when a new fuser is installed and the counter is reset as the manual describes.
Can toner that rubs off the page mean the fuser is failing?
Yes. If toner smears or rubs off with a finger even with the correct paper type selected, the fuser is not getting hot enough or not pressing hard enough. Check the paper type setting first; heavy or glossy paper set as plain paper is a common cause.
Sources
Editorial team
The Fix a Printer team writes and updates independent printer troubleshooting guides, checking Windows and macOS steps against Microsoft and Apple documentation.