Paper jams and feeding
How to clear a paper jam safely
Written by Fix a Printer Editorial Team · Updated
Knowing how to clear a paper jam properly saves you from the second, harder problem: a torn sheet with a piece stuck where you cannot reach it. The method below works for inkjet and laser printers, from small home models to office machines. It takes a few minutes, needs no tools, and mostly comes down to patience and pulling in the right direction.
If the printer reports a jam but you cannot find any paper, go to paper jam but no paper. If paper does not go in at all, see printer not picking up paper.
Step 1: Cancel the job and switch off
Cancel the print job on your computer first, so the printer does not try again the moment you close the cover. Then turn the printer off with its power button and unplug it.
On laser printers, the fuser (the unit that bonds toner to the paper) gets very hot. If the jam is near the back or the output area, wait about ten minutes before touching it. On inkjet printers, unplugging stops the cartridge carriage from moving while your hands are inside.
Some printers ask you, on the display, to keep the power on while you remove the paper so they can release the rollers. If yours does, follow the on-screen steps and keep your hands clear of moving parts.
Step 2: Find where the paper is caught
Look at the places paper can be, in this order:
- Output tray. If the sheet is sticking out of the front, the easiest exit is right there.
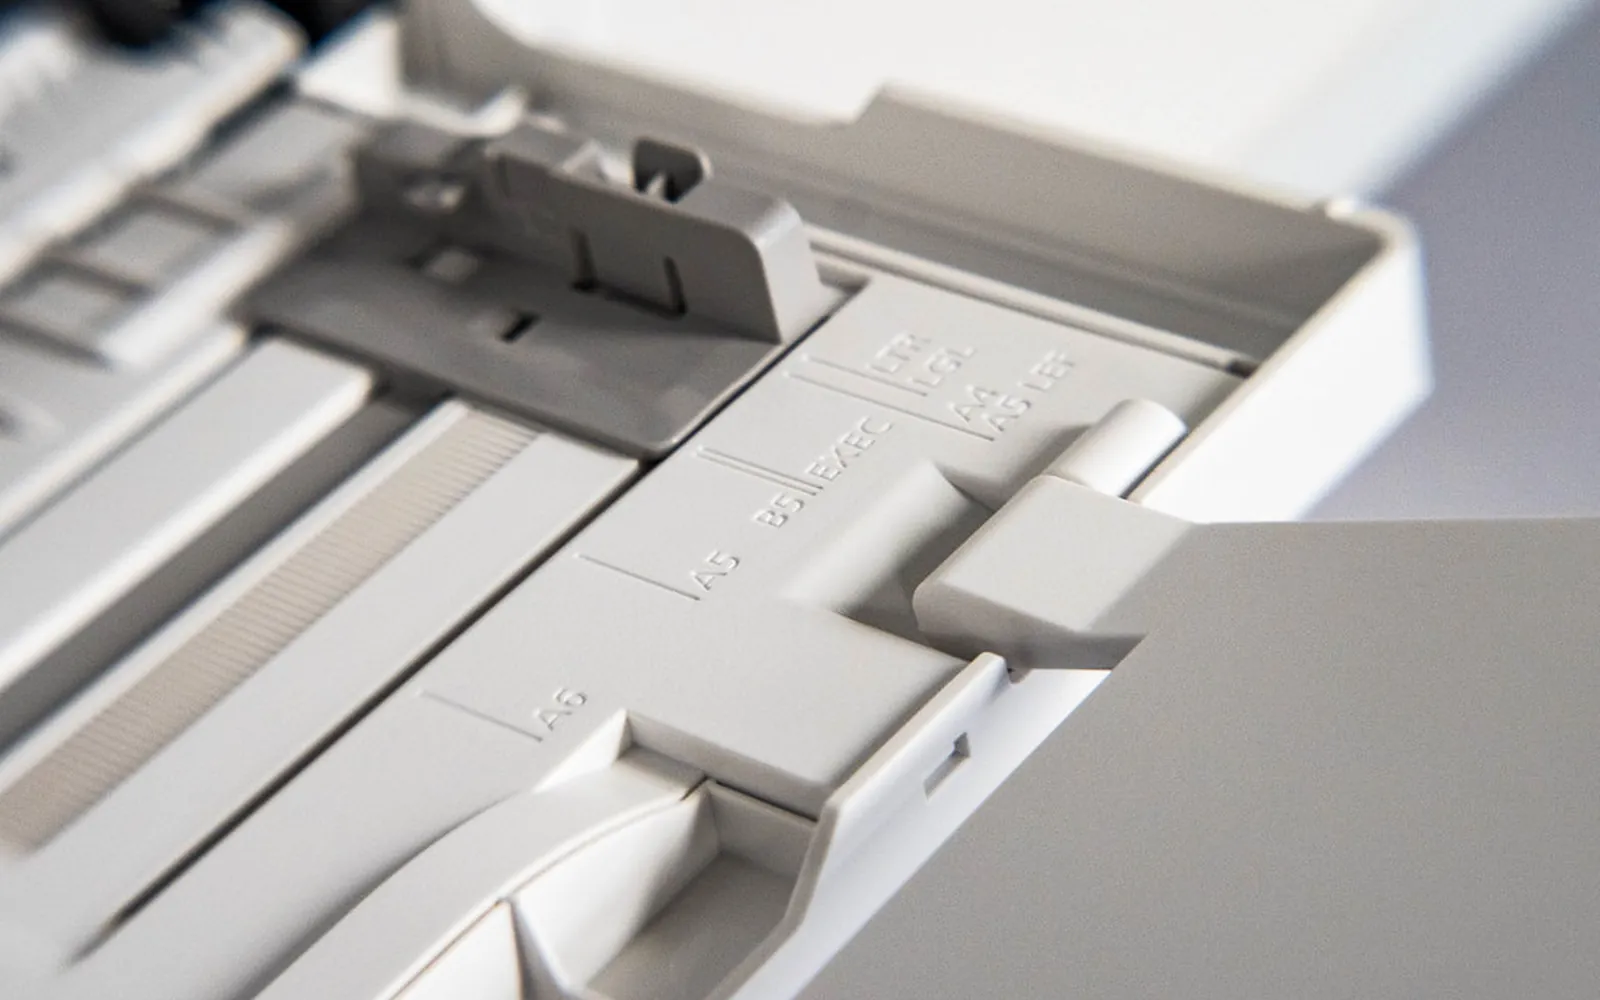
- Input tray. Pull the tray out (or remove paper from the rear feeder) and look into the slot.
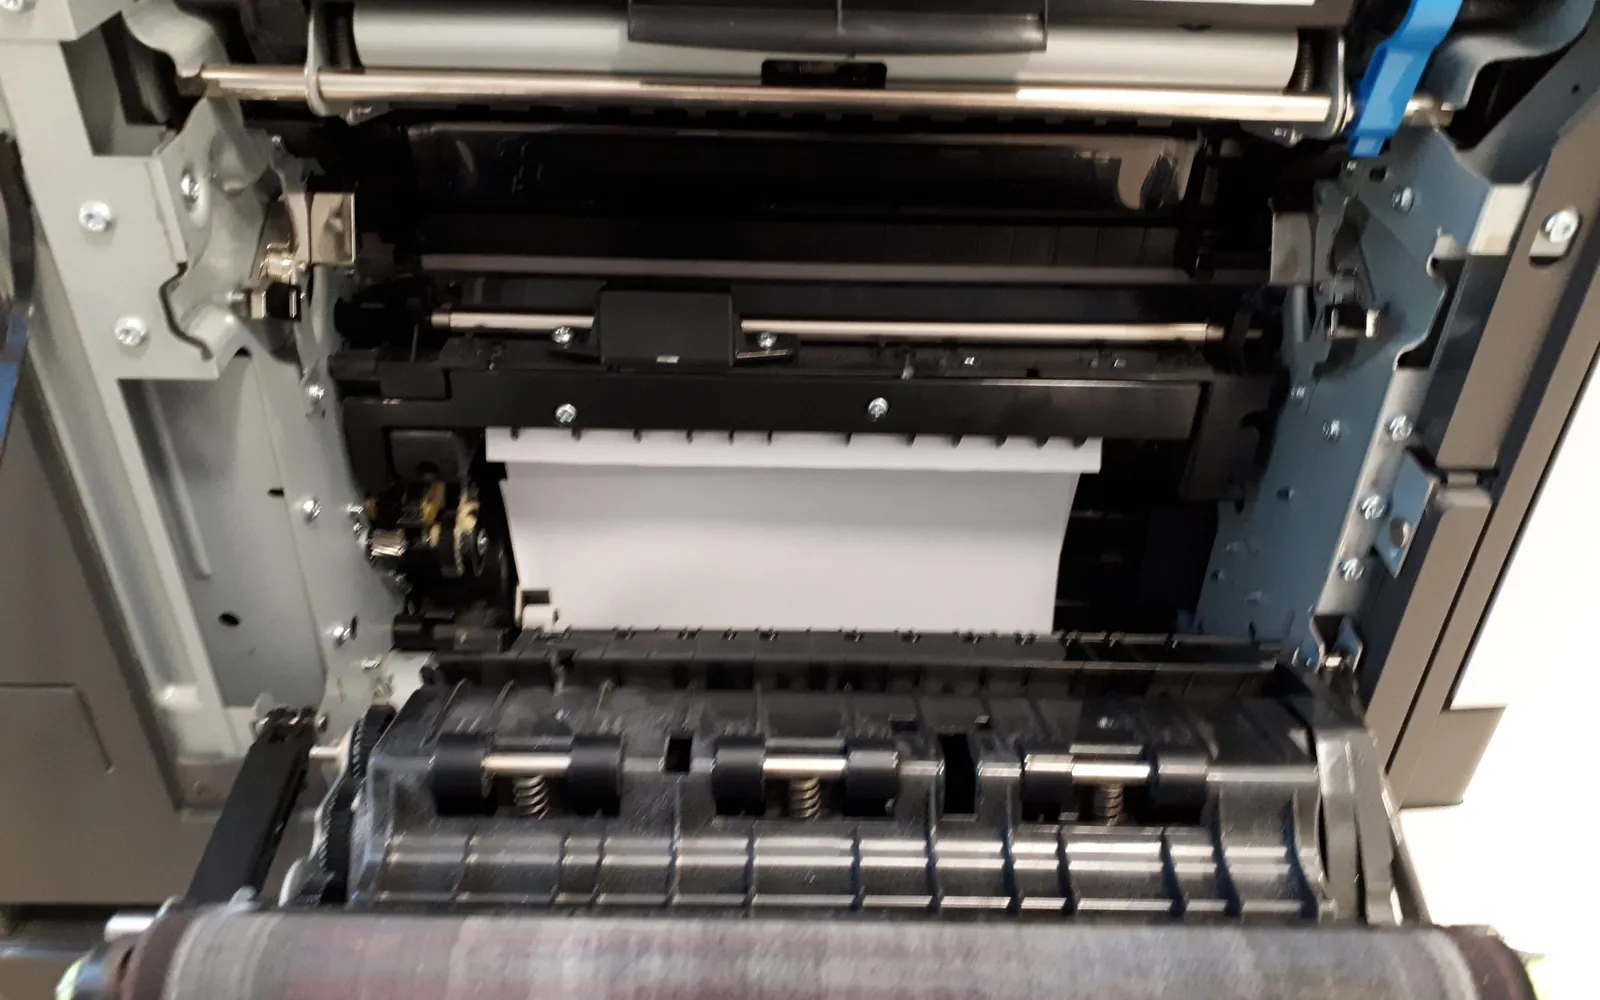
- Front cover or cartridge door. On laser printers, removing the toner cartridge often reveals the paper path. On inkjets, the sheet may be under the carriage.
- Rear access door or duplex unit. Many printers have a door or removable panel at the back. Paper often jams where it turns around for two-sided printing.
Use a torch to look into narrow spaces. Do not reach in with knives, scissors or tweezers; metal tools scratch rollers and break small sensor levers.
Step 3: Pull it out the right way
- Grip the sheet with both hands, as wide apart as possible, so the pull is even.
- Pull slowly and steadily in the direction the paper normally moves. Quick jerks tear the paper.
- If the sheet resists, stop. Try from another access door, or release any green or blue levers that open the roller pressure; printers often colour these parts so you know you can touch them.
- On inkjets, if the carriage blocks the paper, slide it gently to one side by hand with the power off.
Step 4: Check the sheet is complete
Lay the jammed sheet flat. If a corner or strip is missing, that piece is still inside and will cause the next jam or a “jam but no paper” message. Go back through each access point until you find it.
Step 5: Reload and restart
- Take the remaining paper out of the tray, fan it, square the edges and put it back below the maximum fill line.
- Slide the paper guides until they touch the stack without bending it.
- Close every cover and door until it clicks. An open door can show up as a jam or cover error.
- Plug in, turn on and wait for the printer to finish its start-up, then print one page.
Special cases
Labels. A label that peels off its backing sheet inside the printer is the worst kind of jam, because the adhesive sticks to rollers and guides. Do not keep printing. Remove the label carefully with your fingers, and if it is stuck to a roller you cannot reach, stop and check the manual or the manufacturer’s support pages for your model. Only use label sheets made for your printer type (inkjet or laser), and never feed a sheet that has already lost labels.
Envelopes and card. These jam when they go through a path that bends them too sharply. Many printers have a rear feed slot or a straighter output path for thick media; the manual lists the paths and weights each tray supports.
Jams inside the fuser on laser printers. Paper wrapped around the fuser rollers is common when the sheet was damp or too thin. Let the printer cool fully, open the rear door and release the fuser pressure levers if your model has them. If the paper is wrapped tightly and will not come free with gentle pressure, stop: the fuser is easy to damage and expensive to replace.
Jams in the automatic document feeder. On all-in-one printers, the scanner’s document feeder on top has its own jam cover, usually a lid at one end of the feeder. Open it and pull originals out in the direction they travel.
After the jam: check the first prints
Clearing a jam can leave marks behind. If the first pages come out smeared or with ink on the back, a roller or the paper path may have picked up ink; see printer smudging ink. On a laser printer, toner that was not fused onto the jammed sheet can sit on rollers and print as faint repeating marks for a few pages. If a faint copy of the image keeps repeating further down each page, see laser printer ghosting. Lines that appear only after a jam usually mean a scrap or toner deposit in the paper path; our lines and streaks guide helps you tell which part is responsible.
Why paper jams happen
| Cause | What you notice | Fix |
|---|---|---|
| Overfilled tray | Jams at pick-up, several sheets pulled at once | Fill below the max line |
| Guides too tight or too loose | Skewed or crumpled sheets | Guides should just touch the stack |
| Curled or damp paper | Jams in the middle of the path | Use fresh paper from a sealed pack |
| Wrong paper type for the tray | Jams with labels, card or glossy paper | Use the rear or manual feed for special media |
| Dirty or worn rollers | Paper misfeeds, then jams | Clean rollers; replace if worn smooth |
| Scrap left from an earlier jam | Repeated jams in the same place | Check every access point with a torch |
| Duplex jams | Jams only in two-sided printing | Use paper weight within the duplex limits |
Prevent the next jam
- Store paper flat in its wrapper, away from damp rooms.
- Do not add paper to a tray that is still feeding; take the stack out, add paper and reload.
- Do not mix paper types or sizes in one tray.
- Load special media one sheet at a time if the manual recommends it.
- Clean the rollers every few months with a lint-free cloth dampened with water.
If jams keep coming back after all of this, the pick-up roller or separation pad may be worn; see printer not picking up paper. For any other symptom, the printer troubleshooting guide lists every fix on this site.
Frequently asked questions
Should I pull paper out forwards or backwards?
In the direction it normally travels through the printer whenever you can. Pulling backwards against the rollers can tear the sheet and damage the roller mechanism. If the sheet is mostly in the output area, pull it out from there.
Can I clear a jam with the printer switched on?
It is safer to switch it off and unplug it. Some printers ask you to leave them on so they can release the paper, and the on-screen instructions will say so, but never put your hands near a moving carriage or a hot fuser.
Why does my printer keep jamming?
Common reasons are too much paper in the tray, guides squeezing the stack, curled or damp paper, mixed paper types, worn or dirty rollers, or a scrap left from an earlier jam.
What paper causes the fewest jams?
Plain paper of the weight and size listed in your printer's specifications, stored flat in its wrapper. Very thin paper, heavy card, glossy paper in a plain-paper tray and reused sheets with folds jam more often.
Why does the printer still show a jam after I removed the paper?
A scrap may still be inside, a door may not be fully closed, or a sensor lever is stuck. Check every access point with a torch, close all doors firmly and restart the printer. If the message stays, see the guide to a paper jam with no paper.
Sources
Editorial team
The Fix a Printer team writes and updates independent printer troubleshooting guides, checking Windows and macOS steps against Microsoft and Apple documentation.