Print quality
Laser printer grey background: why pages look dirty and how to fix it
Written by Fix a Printer Editorial Team · Updated

A laser printer grey background shows up as a light grey haze, fog or dusty shading over the whole page, including the margins and the spaces between lines that should be pure white. Text is usually still readable, but every page looks dirty or photocopied. It means toner is landing where nothing should print. The cause is sometimes as simple as a setting or damp paper, and sometimes the drum or cartridge is wearing out. This guide checks them in order, cheapest first.
If the page is mostly or completely black, see laser printer printing black pages. If you see faint copies of earlier text repeating down the page, see laser printer ghosting. For lines and streaks rather than an even haze, see printer printing lines or streaks.
Why it happens
In a laser printer, the drum is charged evenly, a laser discharges the areas that will print, and toner sticks only to those areas before it is transferred to the paper and fused. For the white parts of the page to stay white, the drum’s charge has to hold and the toner has to stay where it is told.
A grey background appears when that balance slips. Common reasons:
- the drum is worn, scratched or has lost its ability to hold an even charge,
- the charge roller or charging part is dirty or worn and charges the drum unevenly,
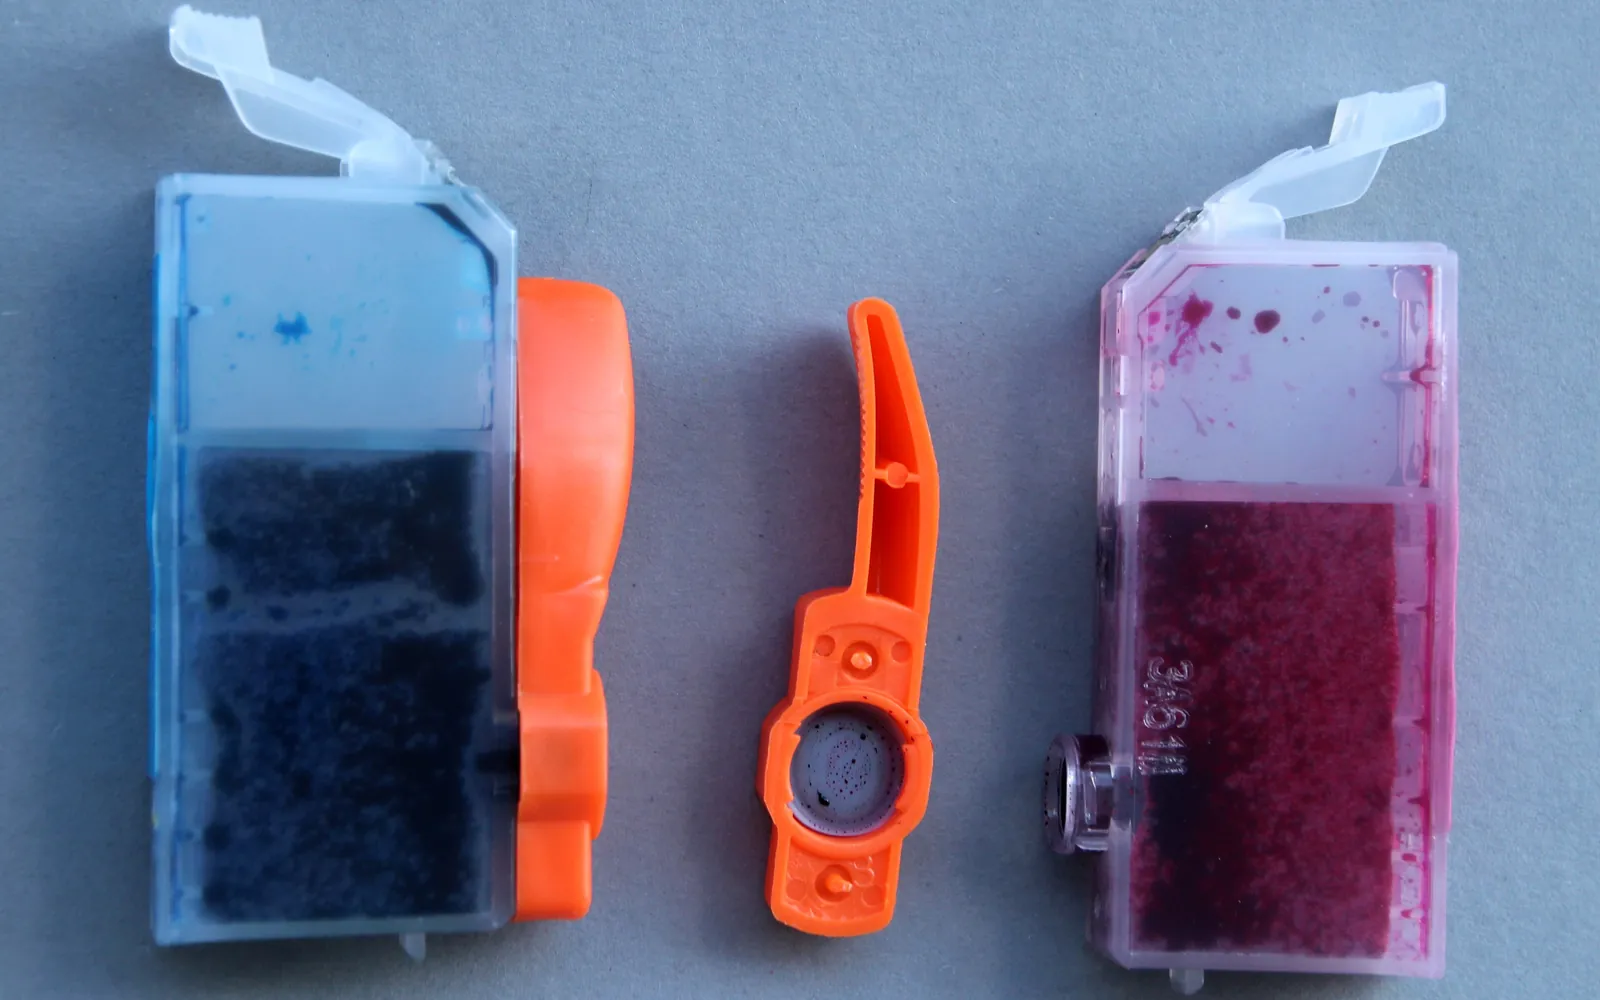
- the toner cartridge is failing, leaking or was refilled with toner that does not suit it,
- the density setting is very high,
- moisture in the paper or the room changes how the charge and toner behave.
On many printers the drum and charging parts are built into the toner cartridge, so “replace the cartridge” fixes them all at once. Others have a separate drum unit that lasts through several toner cartridges.
Step 1: Rule out the document
Print something with no background at all: a page of plain black text from Notepad or TextEdit, or the printer’s own configuration or status page from its menu.
- Test page is clean: the grey is in the document. A light fill colour, a watermark, a scanned page with a grey background or a PDF with a tinted page will print exactly like that. Fix the document, or for scans look for a background removal or “white background” option in the scanning software.
- Test page also has the haze: the printer is adding it. Continue.
Step 2: Check the density setting
Most laser printers have a print density, darkness or toner density setting in the printer menu, the driver’s Printing preferences or both. A very high value makes every page darker and can lift the background too.
- In Windows, open Settings > Bluetooth & devices > Printers & scanners, select the printer and choose Printing preferences. Look on the quality, graphics or advanced tab.
- On the printer’s control panel or built-in web page, look under print quality or settings.
- Set density to the middle or default value and print the test again.
If you turned density up earlier because pages were pale, the underlying problem may be low toner or a worn drum, which printer printing faded covers.
Step 3: Try fresh, dry paper
Paper takes up moisture from the air. Damp paper, very rough paper and some recycled or speciality papers can make background toner worse and can also cause curling.
- Load paper from a freshly opened ream, kept flat and wrapped until use.
- Use paper intended for laser printers.
- Make sure the paper type set in the driver and the tray matches the paper you loaded.
If the printer sits in a damp room, a garage or next to a humidifier, try printing elsewhere or after the room has dried out. If damp paper is also wrinkling, see printer wrinkling paper.
Step 4: Check the supplies
Print a supplies or status report from the printer’s menu. It usually shows toner level and, on printers with a separate drum, the drum’s remaining life.
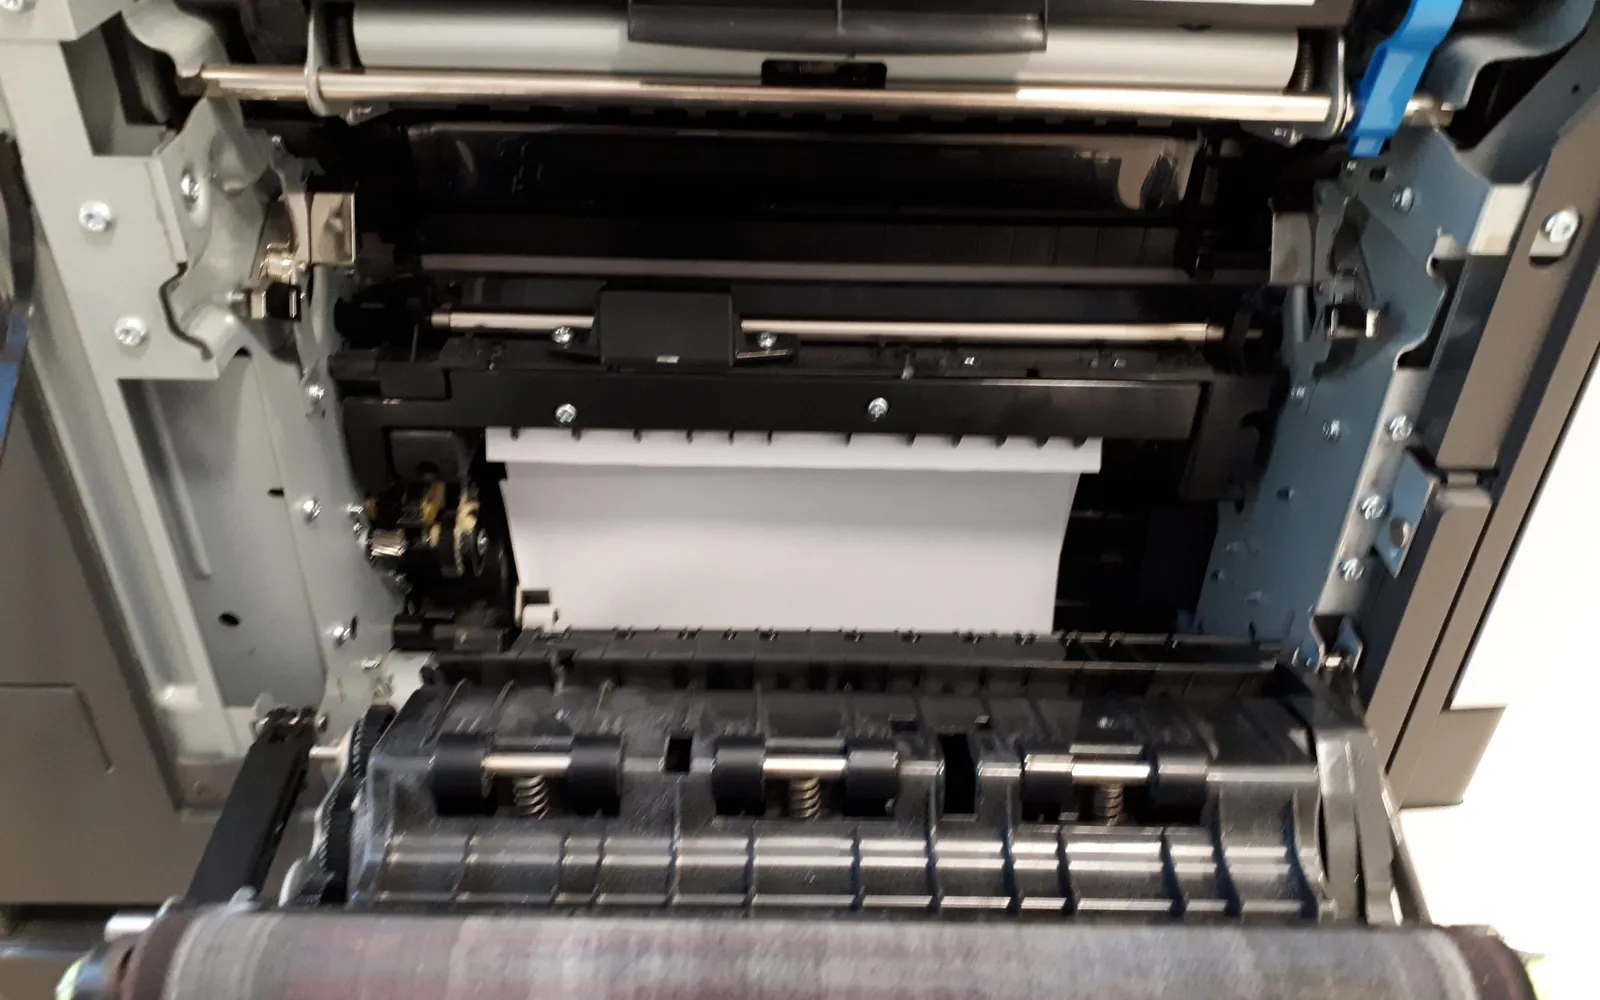
- Turn the printer off, open the front cover and remove the toner cartridge (and drum unit, if separate). Let a hot printer cool first; the fuser area can be very hot.
- Look for loose toner in the cartridge bay or on the cartridge. A leaking cartridge sprays toner around and onto pages.
- Gently wipe away loose toner with a dry, lint-free cloth. Do not use a normal household vacuum on toner, and do not touch the drum surface (usually green, blue or grey), which marks easily.
- Gently rock the toner cartridge from side to side, as many manuals advise, then refit everything firmly and print the test again.
If the drum is near or past its rated life, it is the most likely cause. If the cartridge is refilled or remanufactured and the haze started when you fitted it, the cartridge is the first suspect.
Step 5: Swap in a known good part
Grey background is one of those faults where a test with a known good part saves guessing.
- Separate drum and toner: if you have a spare drum or a recent one, fit it with the current toner. If the page clears, replace the drum. If not, try a different toner cartridge.
- Toner with built-in drum: fit a new or known good cartridge. If the haze disappears, the old cartridge was the cause.
Some printers have a drum cleaning or charge roller cleaning routine in the maintenance menu, or a small cleaning slider for the charging wire on the drum unit. If your manual describes one, run it before buying parts.
If a new drum and a new cartridge still leave a grey background, the fault is probably inside the printer, such as the transfer or high-voltage parts, and needs a repair technician. The printer troubleshooting guide explains when a repair makes sense.
Grey background on copies only
If printing from a computer is clean but copies have a grey background:
- Clean the scanner glass and the white backing on the lid with a slightly damp, lint-free cloth, then dry them.
- Close the lid fully, or use a heavier book on top of thick originals, so no light leaks in.
- Check the original: tinted or thin paper and text showing through from the back are copied too.
- Look in the copy settings for density, background removal or document type (text, photo, mixed) and try a lighter or text setting.
Related symptoms
- Haze plus streaks or smears that rub off: toner is not fusing; see printer fuser error and printer smudging ink.
- Toner warnings soon after fitting a new cartridge: see toner low after new cartridge.
Quick checklist
- Plain text or configuration page printed to rule out the document.
- Density set to the default value in the driver and printer menu.
- Fresh, dry laser paper loaded and paper type matched.
- Loose toner removed, cartridge and drum reseated, drum life checked.
- Known good drum or cartridge tested; cleaning routine run if the printer has one.
- Copy settings and scanner glass checked if only copies are grey.
Frequently asked questions
Why does my laser printer print a grey background?
Toner is being attracted to areas of the page that should stay white. The most common causes are a worn or damaged drum, a failing or poorly filled toner cartridge, damp paper and a density setting that is too high. A document or scan with a light grey fill can look the same, so print a plain text test first.
Is a grey background the drum or the toner?
Either can cause it. If you have separate drum and toner units, check the drum life on the supplies report: a drum near or past its rated life is the more likely culprit. The surest test is to fit a known good drum or cartridge and print the same page.
Can paper cause a grey background?
It can contribute. Paper that has absorbed moisture, very rough or recycled paper, or paper not meant for laser printers can make background toner and haze worse. Try paper from a freshly opened ream stored flat in a dry room.
Why do only my copies have a grey background?
Copies reproduce the original, including tinted paper, show-through from the back of a sheet and shadows from a raised lid. Clean the scanner glass, close the lid fully and look for a background removal or density option in the copy settings.
Should I clean the inside of the printer?
Gently removing loose toner from the cartridge area with a dry, lint-free cloth is fine, but do not use a normal household vacuum, which can be damaged by fine toner dust, and do not touch the drum surface. Follow the cleaning steps in your printer's manual.
Sources
Editorial team
The Fix a Printer team writes and updates independent printer troubleshooting guides, checking Windows and macOS steps against Microsoft and Apple documentation.