Print quality
Printer printing wrong colors: how to find the cause and fix it
Written by Fix a Printer Editorial Team · Updated
A printer printing wrong colors is frustrating because the page still looks almost right: the photo is there, the chart is there, but the sky has turned purple or faces look green. The useful part is that the specific colour shift tells you what is wrong. This guide shows you how to read it, then works through the fixes from free settings to replacement parts.
If the colours are correct but simply pale, see printer printing faded. If you see lines or bands through the colours, go to printer printing lines or streaks. For any other problem, start at the printer troubleshooting guide.
Read the colour cast
Colour printers mix three coloured inks or toners, cyan, magenta and yellow, plus black. When one of them stops printing, every colour that depends on it shifts in a predictable way.
| What you see | Colour that is probably missing or weak |
|---|---|
| Blues look purple, greens look yellow | Cyan |
| Reds look orange or yellow, blues look teal or cyan | Magenta |
| Greens look blue, reds look pink or magenta | Yellow |
| Black text looks brown, dark green or blotchy | Black (the printer is mixing colours instead) |
| Everything prints in shades of grey | A grayscale setting, not a hardware fault |
| Colours correct but darker or duller than on screen | Screen versus print difference or paper type |
| Colour fringes or offset edges (laser) | Colour registration |
If black is the only problem, the dedicated guide on printer not printing black goes into more detail.
Step 1: Print a colour test from the printer
Print a nozzle check (inkjet) or a colour test page, demo page or print quality page (laser) from the printer’s own menu. These pages bypass your computer completely.
- Every colour prints cleanly on the test page: the hardware is fine. The cause is a setting, the driver or the file, so go to Step 3.
- A colour block is missing, gappy or faint: the cause is in the printer. Go to Step 2 for inkjets or Step 4 for lasers.
Step 2: Inkjet hardware fixes
Clean the affected colour
Partly dried ink is the most common reason one colour drops out, especially if the printer has not been used for a while.
- Run one Head cleaning cycle from the maintenance menu. Some printers let you clean only the colour group that is affected.
- Print another nozzle check.
- Repeat up to three times as long as each cycle improves the pattern.
- If there is no improvement, leave the printer switched on for a few hours and try once more. Avoid long runs of cleaning cycles, which use ink and fill the waste ink pad.
Check the cartridges
- Level: a cartridge close to empty can stop printing properly before the printer warns you. Replace it.
- Position: on printers with individual cartridges, make sure each one is in the slot marked with its colour. Most slots are shaped to prevent mistakes, but labels on refilled cartridges are not always accurate.
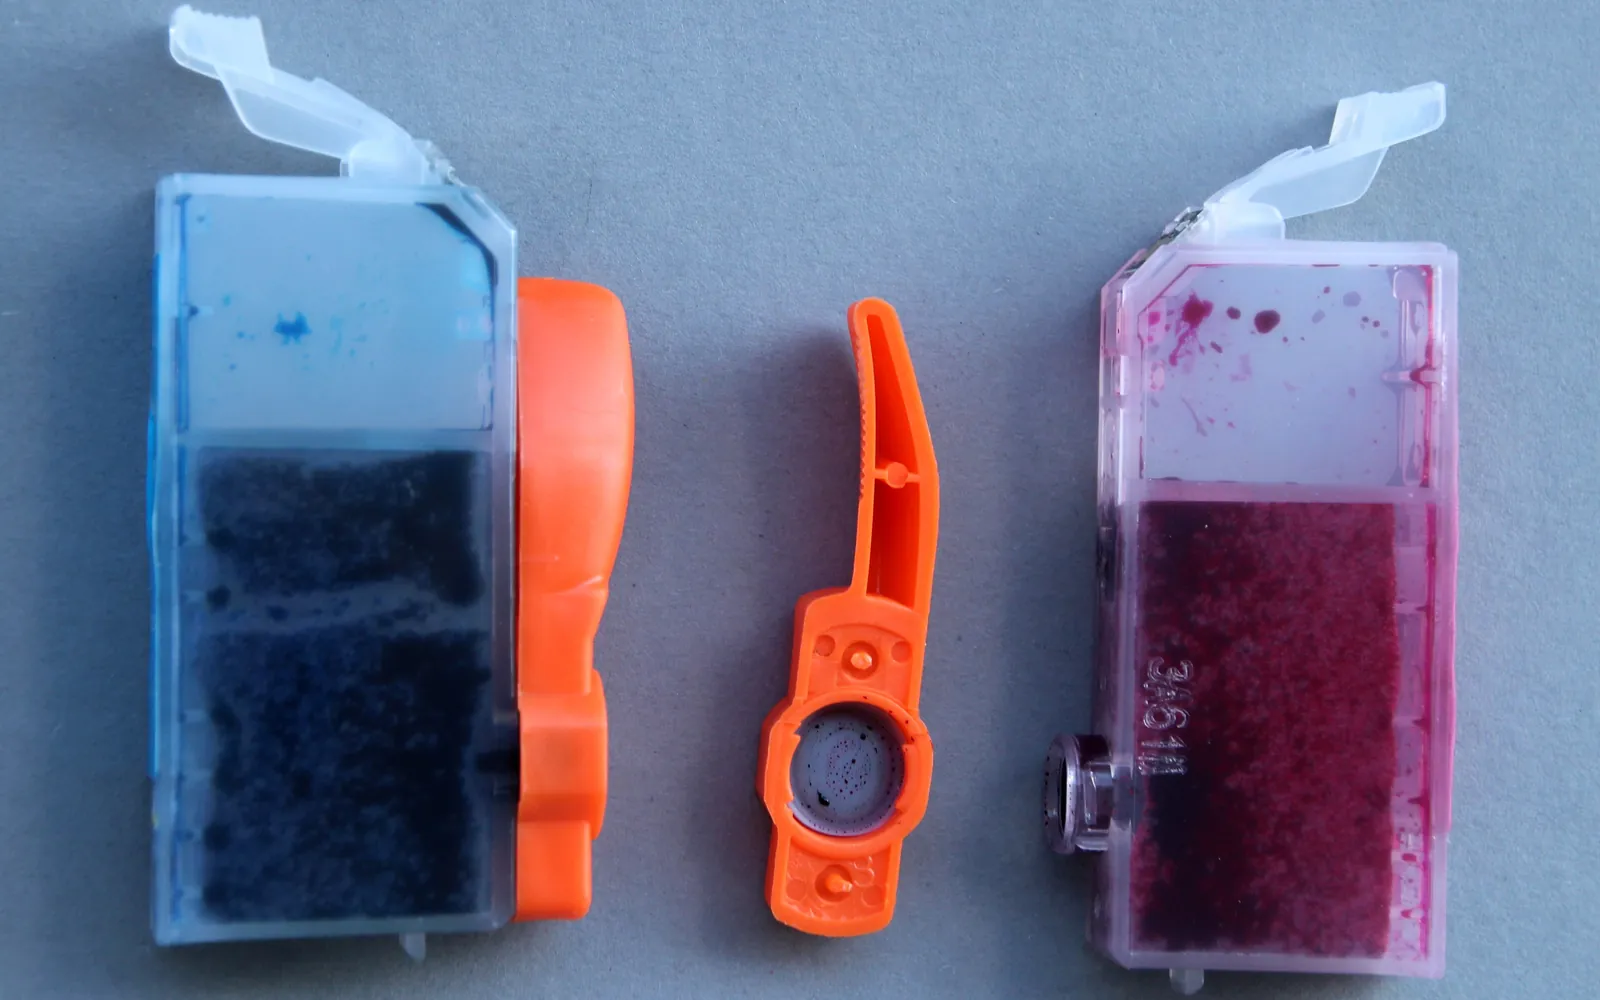
- Refills: a refilled cartridge filled with the wrong ink, or ink tanks topped up from the wrong bottle, will mix colours inside the print head. If a nozzle check shows a colour that is visibly the wrong shade, that is the likely cause; it may take several cleaning cycles to flush, or a new cartridge or head.
- Recognition: if the printer complains that a cartridge cannot be read, see printer cartridge not recognized.
Align the print head
Misalignment does not change the colours themselves, but it can make edges look blurred or fringed in a way that reads as wrong colour. Run Print head alignment from the maintenance menu after a cleaning or cartridge change.
Step 3: Settings that change colours
Grayscale and black-only options
If everything prints in grey, look for Grayscale, Black & White, Print in grayscale or Black ink only.
- Windows 11: go to Settings > Bluetooth & devices > Printers & scanners, select the printer, choose Printing preferences and check the colour option on each tab. Also check the print dialog of the app you are using, because it can override the default.
- macOS: in the app’s print dialog, check the colour or quality section and any Presets menu. A preset saved with black and white enabled is easy to reuse by accident.
Colour adjustment sliders
Many drivers have advanced colour controls for brightness, contrast, saturation and individual colour balance. If someone has moved them, every print has a tint. Look for a button such as Advanced, Color adjustment or Restore defaults in Printing preferences and reset it.
Colour management: only one should be in charge
Photo and design programs can manage colour themselves using colour profiles, and so can the printer driver. If both do it at the same time, colours are converted twice and often come out oversaturated, too dark or with a cast. In the program’s print dialog, choose either “the program manages colours” with the correct profile for your paper, or “the printer manages colours”, and make sure the driver’s own colour correction matches that choice.
Paper type
The driver changes ink amounts and colour handling for each paper type. Glossy paper printed on a plain paper setting usually looks dull and blotchy; plain paper on a photo setting can look muddy. Match the setting to the paper loaded.
Driver and file
Windows 11 and macOS can print through a generic driver (such as an IPP class driver or AirPrint). These work well for most jobs but may offer fewer colour options than the manufacturer’s full driver. If colour controls you expect are missing, check which driver is installed; if the driver shows as unavailable, follow printer driver is unavailable. If only one file prints oddly, check whether it was created for commercial printing in CMYK, and try exporting a copy in RGB. PDFs that will not print at all are covered in printer won’t print pdf.
Step 4: Colour laser printers
- Toner: check every toner level. A colour that is low prints weak and pulls mixed colours away from it.
- Calibration: run Color calibration (sometimes called density adjustment) from the printer’s maintenance menu. Do this after replacing toner, after moving the printer or when tints appear gradually.
- Registration: if colours are offset so that edges show coloured fringes, run Color registration or Auto color alignment if your printer has it.
- Imaging units and transfer belt: if calibration does not help and one colour prints patchy or with marks, the drum or imaging unit for that colour, or the transfer belt, may be worn. The printer’s supplies status page usually shows their condition.
When your screen is the problem
Screens produce colour with light, printers with ink or toner on paper, so a print will never match a bright screen exactly. Some vivid on-screen colours fall outside what inks can reproduce. If the test page looks right and only the comparison with the screen bothers you, turn screen brightness down, use the correct paper type and, for regular photo work, calibrate the display. Windows includes a Calibrate display color tool you can find with the search box; on a Mac, display profiles are under System Settings > Displays.
When to replace a part, and when it is not worth it
- Cartridge or ink tank: replace it if it is low, refilled with the wrong ink or still weak after cleaning on models where the head is part of the cartridge.
- Inkjet print head (separate from cartridges): consider it only when cleaning and resting fail for one colour. Compare its price with the price of a comparable new printer first.
- Laser imaging unit or transfer belt: replace it when the status page shows it worn and calibration does not fix the tint.
- Older printer needing several parts: if two or more major parts are due at the same time, a new printer is often the more sensible choice.
In most cases a nozzle check plus one cleaning cycle, or switching off a stray grayscale or colour adjustment setting, puts colours right. If a clean test page still produces wrong colours from every program, check the manufacturer’s support pages for your model for a driver update.
Frequently asked questions
Why is my printer printing the wrong colors when the cartridges are full?
Full cartridges do not guarantee that ink reaches the paper. Dried or blocked nozzles stop one colour from printing, which shifts every mixed colour. Print a nozzle check; if one colour block has gaps or is missing, run head cleaning for that colour.
Why are my prints darker than what I see on screen?
Screens emit light and are usually set much brighter than a printed page can reflect, and they can show some colours that inks cannot reproduce. Lowering screen brightness, choosing the right paper type and letting only one program manage colour brings prints much closer.
Why does my color printer only print in black and white?
Usually a grayscale or black ink only option is enabled in Printing preferences, the app's print dialog or a saved preset. On some printers a missing or empty colour cartridge also forces black-only printing; check the printer's screen for a message.
What does colour calibration do on a laser printer?
It makes the printer measure and adjust the density and alignment of each toner colour. Running it after replacing toner or moving the printer often corrects tints and colour fringes. Look for Calibrate, Color calibration or Color registration in the printer's maintenance menu.
Can the wrong paper type change the colors?
Yes. The driver adjusts the amount of ink and the colour settings for the selected paper. Glossy photo paper printed with a plain paper setting, or the reverse, can look dull, blotchy or tinted.
Sources
Editorial team
The Fix a Printer team writes and updates independent printer troubleshooting guides, checking Windows and macOS steps against Microsoft and Apple documentation.