Print quality
Printer head alignment: how to fix jagged lines and blurry text
Written by Fix a Printer Editorial Team · Updated
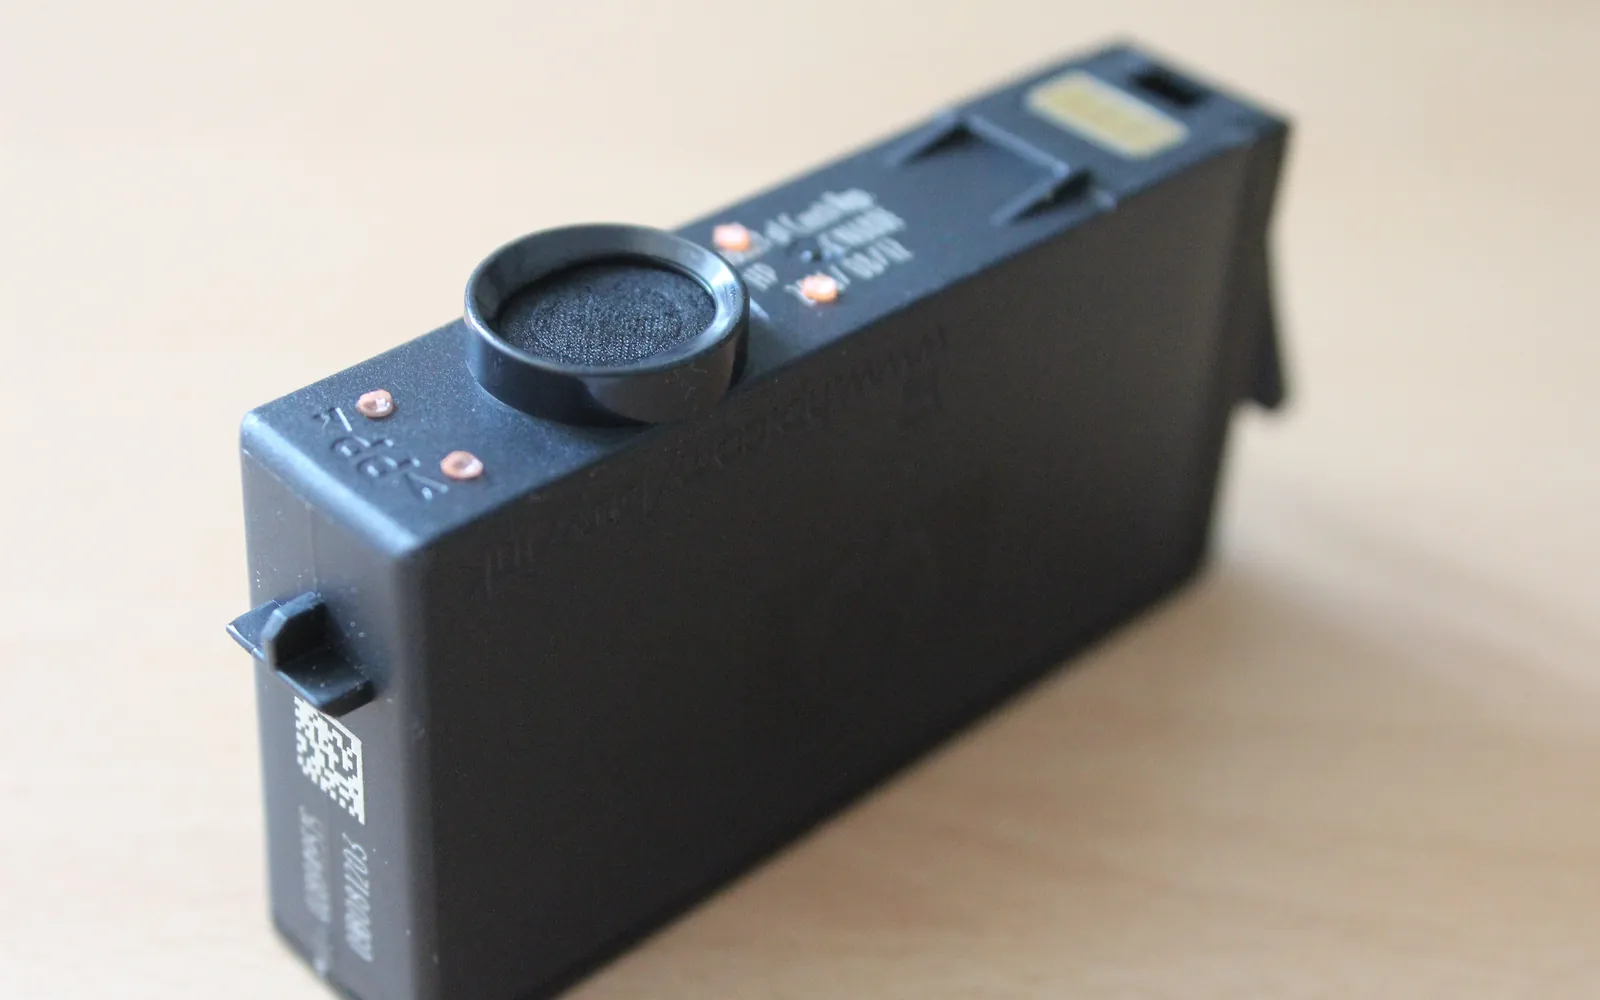
Printer head alignment is a maintenance routine on inkjet printers that makes sure ink from every nozzle, every colour and every pass of the print head lands where it should. When alignment drifts, straight vertical lines look stepped or broken, small text looks fuzzy or doubled, and colours sit slightly off the black outlines. It takes a few minutes and a sheet or two of plain paper, and it is one of the few print quality fixes that costs nothing.
Alignment is not the cure for every quality problem, so the first step is to make sure it is the right fix. If whole colours are missing or there are horizontal gaps, see printer printing lines or streaks. If the whole page is rotated on the sheet, that is a paper feed problem; see printer printing skewed.
Signs that alignment is the fix
- Jagged or stepped vertical lines. Table borders and straight lines look like a staircase or have small breaks.
- Doubled or ghostly text. Letters have a faint shadow or look slightly blurred, especially in small print.
- Colour fringes. Coloured fills do not meet black outlines exactly, leaving a white gap or an overlap.
- Grainy bands only in bidirectional printing. The fault shows on alternating passes of the head.
Signs that alignment will not fix the problem:
- Horizontal white lines or gaps in one colour: clogged nozzles.
- A missing colour or wrong colours: ink or nozzles; see printer printing wrong colors.
- A pale page: ink, toner or settings; see printer printing faded.
- Smudges or smears: paper or drying; see printer smudging ink.
Step 1: Print a nozzle check first
Alignment works by printing a pattern and comparing positions. If some nozzles are clogged, the pattern is incomplete and the result can be wrong, or the alignment can fail.
- Open the printer’s Maintenance, Tools or Setup menu, or the maintenance section of the maker’s app.
- Print a nozzle check (sometimes called a print quality diagnostic or test pattern).
- If any colour has gaps, run one head cleaning, then print the nozzle check again.
If the printer has been unused for a while and cleaning does not clear the gaps, read printer ink dried out before you continue.
Step 2: Load plain paper
Use plain white paper of the size the alignment expects, usually A4 or Letter. Photo paper, coloured paper or recycled paper with speckles can confuse printers that read the pattern with a sensor or scanner. Load it in the main tray.
Step 3: Run the alignment
The routine has different names: Print Head Alignment, Align Print Head, Align Cartridges or Head Alignment. You can start it from:
- The printer’s control panel, usually under Maintenance, Tools or Settings.
- The maker’s app on Windows or Mac, usually in a maintenance or tools section.
- The printer’s embedded web page on some networked models, opened by typing the printer’s IP address into a browser.
Windows itself does not have a head alignment command; it comes from the printer or its software.
Step 4: Complete the pattern step
Printers handle the pattern in one of three ways:
- Automatic: the printer prints a pattern, reads it with a sensor and adjusts. Just wait for it to finish.
- Scan: the printer prints a pattern and asks you to place it face down on the scanner glass, aligned with the corner mark. It then scans and adjusts. Make sure the glass is clean.
- Manual: the printer prints several numbered patterns in groups and asks you to enter the number of the best-looking one in each group, usually the one with the least visible stripes or lines.
Step 5: Check the result
Print a page with straight vertical lines and small text, such as a table or a document with borders. If lines are now straight and text is sharp, you are done.
If the improvement is partial, run alignment once more. Running it many times in a row does not help if the cause is elsewhere.
If the alignment fails
- “Alignment failed” or “Pattern could not be read”: clean the scanner glass, check the pattern was placed face down against the correct corner, and use clean white plain paper.
- Nozzle check still shows gaps: the clog is the real problem; clean the head or, for cartridges with a built-in head, try a new cartridge.
- Paper feeding at an angle: a crooked sheet makes the pattern crooked too. Set the paper guides and try again.
- Lines still jagged after a good alignment: check whether a High Speed or bidirectional printing option is enabled in the driver. Turning it off makes the head print in one direction only, which is slower but can remove stepped lines.
Laser printers are different
Laser printers do not have an inkjet-style print head, so there is no head alignment. Colour lasers have a colour registration or calibration routine that lines up the colour layers, and many run it automatically. If a colour laser shows colour fringes, look for calibration or registration in its maintenance menu. For laser faults like ghost images, see laser printer ghosting.
When to align again
Alignment is not something to run every week. It is worth repeating when something has changed the position of the head or the ink:
- after fitting a new print head or, on printers where the head is part of the cartridge, after changing cartridges and seeing fuzzy lines,
- after moving or shipping the printer, or after clearing a jam that pulled hard on the carriage,
- when straight lines start to look stepped again on documents that used to print cleanly.
If you find yourself aligning every few days, something else is wrong: the carriage may be dirty or catching on something, or the paper may be feeding unevenly. How to clean printer rollers covers the feed side.
Quick checklist
- Jagged lines, doubled text or colour fringes: alignment is the right fix.
- Nozzle check clean before aligning.
- Plain white paper loaded.
- Alignment run from the printer menu or maker’s app.
- Test page with lines and small text to confirm.
- High speed or bidirectional option off if lines are still stepped.
Frequently asked questions
How do I know if my printer heads need aligning?
Look at vertical lines and text. If straight lines look broken, stepped or doubled, text looks fuzzy, or colour sits slightly to one side of black outlines, alignment is a likely fix. Missing lines or gaps are a nozzle problem instead.
How do I align the print heads?
Load plain paper, then choose Print Head Alignment, Align Cartridges or similar from the printer's maintenance or tools menu, or from the maker's app on the computer. Many printers print a pattern, scan or read it automatically and adjust; some ask you to pick the best-looking pattern.
Why does print head alignment fail?
Common causes are clogged nozzles that make the pattern incomplete, the wrong paper (photo or coloured paper), the pattern placed on the scanner glass the wrong way, or a dirty scanner glass. Run a nozzle check and cleaning first, then try again with plain white paper.
Do I need to align after changing a cartridge?
Many printers run alignment automatically after a cartridge or print head change. If they do not, and the print quality looks off afterwards, run it once.
Sources
Editorial team
The Fix a Printer team writes and updates independent printer troubleshooting guides, checking Windows and macOS steps against Microsoft and Apple documentation.